How to Embed a Virtual Tour (QR, iframe & VR)
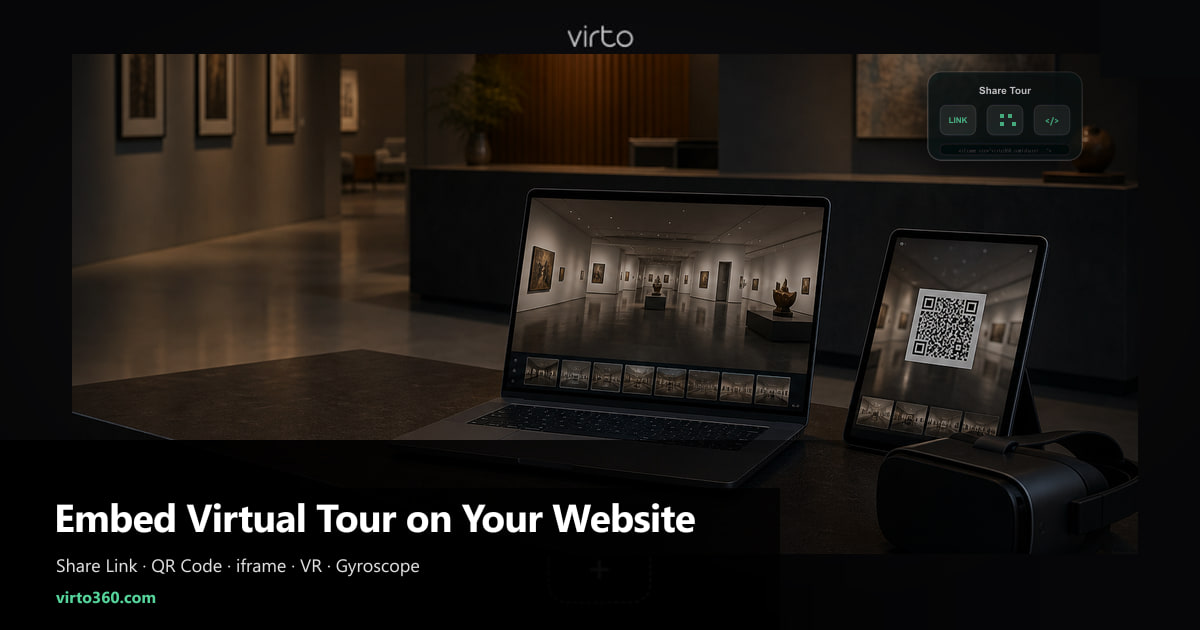
After you hit Finish in Virto 360, the Share panel gives you everything — link, QR, embed code, and VR. Here is how each piece works.
Building the tour is half the job. The other half is getting it in front of buyers — on a listing page, in an email, on a printed flyer, or inside a property portal that accepts iframe embeds. Virto 360 handles all of this from one Share screen after you hit Finish. No separate hosting account, no developer ticket.
Step 1 — Publish and open Share
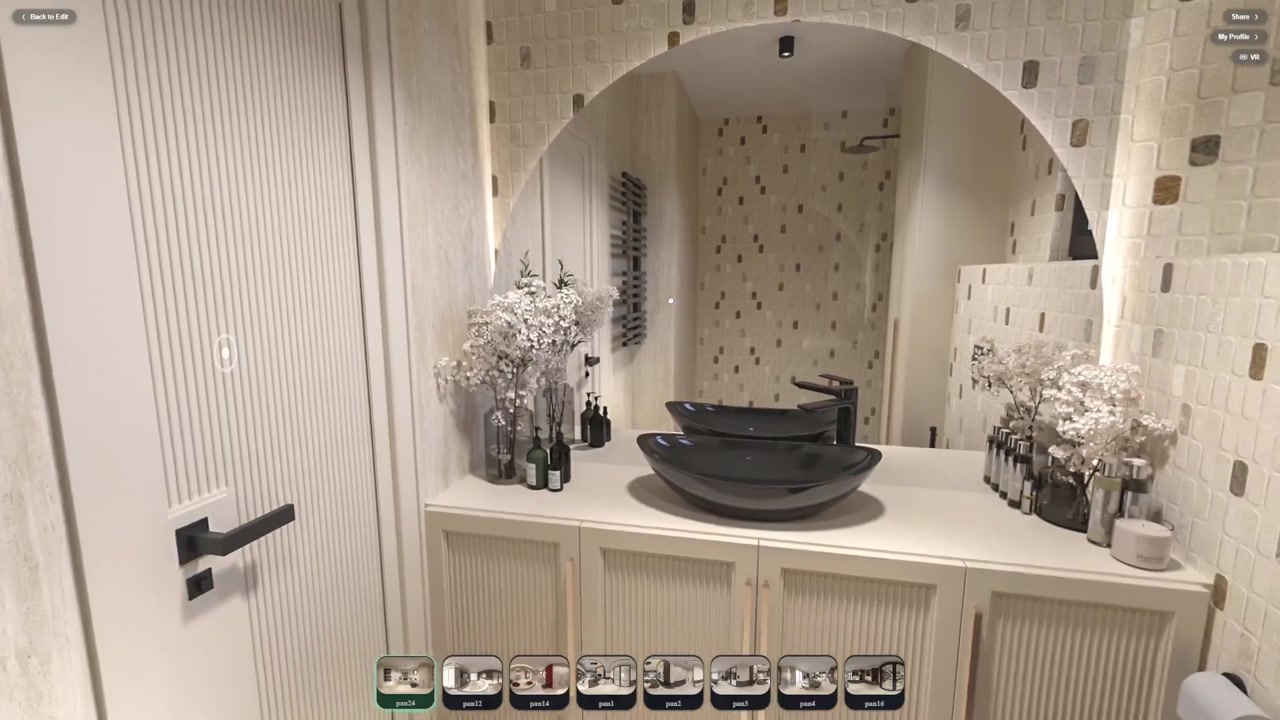
When hotspots and optional filters are done, tap Finish in the editor. Virto publishes the tour and opens the Share panel — the same screen viewers eventually see, minus the editing controls. If you need to change anything later, go back to Edit, adjust, and re-publish; the public link stays the same.
Step 2 — Copy the share link
The share link looks like virto360.com/share/your-tour-id. Copy it with one tap and paste into WhatsApp, email, MLS remarks, or social posts. The link opens in any browser — no Virto account required for viewers. You can toggle location display if you want a map pin on the shared tour, useful for hotels and multi-building sites.
- Works on iPhone, Android, and desktop without an app install
- Preview image uses the opening view you set in the editor
- Private tours can be switched off — the link then shows a private-tour message until you re-enable sharing
Step 3 — Download the QR code
In the same Share panel, open QR Code and download the PNG. Print it on window cards, open-house signs, hotel room folders, or exhibition stands. Scanning opens the same share URL — ideal when you want foot traffic without typing a long link. Short-term rental hosts often laminate a QR by the check-in instructions.
Step 4 — Get the embed code (iframe)
Click Get Embed Code to open Virto’s Embed panel. This is where you configure how the tour appears inside your website before you copy a single line of HTML.
- Size — set width in pixels or 100% responsive height; typical listing embed is 1000×600 px or full-width 16:9
- Theme — dark (default) or light to match your site background
- Logo — show or hide the Virto logo (`nologo`); custom logo upload is preview-only in the Embed panel today
- Title and description — toggle on/off and style font, size, and color
- Border — optional colored border with blur and thickness for framed embeds
- Gyroscope — enabled by default on mobile; add nogyro=1 to the URL if you want touch-only panning
- VR — append vr to the embed URL for headset-ready viewing inside the iframe
The panel outputs a standard iframe snippet — copy and paste into WordPress Custom HTML blocks, Squarespace code injections, Webflow embed elements, or agency templates. Example shape: an iframe pointing at your share URL with the options you selected baked into query parameters (nologo, theme=light, vr, and similar).
Step 5 — Paste into your website
Most CMS platforms accept iframe HTML directly. If your portal strips scripts, iframe is exactly what you want — Virto does not require JavaScript embed files on your domain. Set allowfullscreen on the iframe so viewers can expand to full screen on mobile. Test the page on a phone: gyro panning should feel natural if gyro is enabled.
VR viewing — browser and headset
Virto tours include an optional VR mode for headset-style stereo viewing in the browser. On a Meta Quest or similar headset, open the share link in the built-in browser and enter VR mode from the viewer controls. For embeds, the Embed panel can add VR to the iframe URL — no native app required.
In the editor you can control whether VR is offered on public links. For your own preview, VR is always available while testing before publish.
Real-world use cases we see every week
- Real estate — iframe on listing detail page; QR on For Sale sign rider
- Hotels — embed on room-type page; QR on reception desk
- Architects — full-width embed on project portfolio case study
- Trade shows — full-screen share link on a tablet in a stand
- Photographers — share link in delivery email; hide Virto logo on embed when needed
Troubleshooting embeds
- Blank box on site — confirm the tour is public, not set to private in Share settings
- Iframe too small on mobile — use width 100% and height 400–600 px minimum
- Gyro not working — iOS requires user gesture before motion; tap once inside the tour
- VR button missing — check vrEnabled on the published tour and that the URL includes vr if using embed params
Start from the beginning
If you have not built the tour yet, read how to create a free virtual tour first — upload, hotspots, publish. Need better source photos? The 360 camera guide compares Ricoh Theta, Insta360, and DSLR options for real estate.
Where to go next
Sharing lives on Virtual Tour Software. Embed details: embed a virtual tour.
Frequently asked questions
Does embedding cost extra on Virto 360?
No. Public sharing, iframe embed, and QR download are included on the free tier. Optional paid plans are for more storage and extras as you scale — not for basic embed access.
Can I remove the Virto logo from embeds?
Yes. In the Embed panel, turn off the logo. The nologo URL parameter hides Virto branding on the share URL as well. Custom agency logo upload is preview-only today and does not persist on the published iframe.
Will the iframe work inside WordPress or Squarespace?
Yes. Paste the iframe HTML into a Custom HTML block or embed field. No plugin required.
How do I open the tour in VR on Meta Quest?
Open the share link in the Quest browser, tap VR in the viewer, or use an embed URL with vr enabled. Virto’s browser VR mode handles stereo viewing — no sideloading.