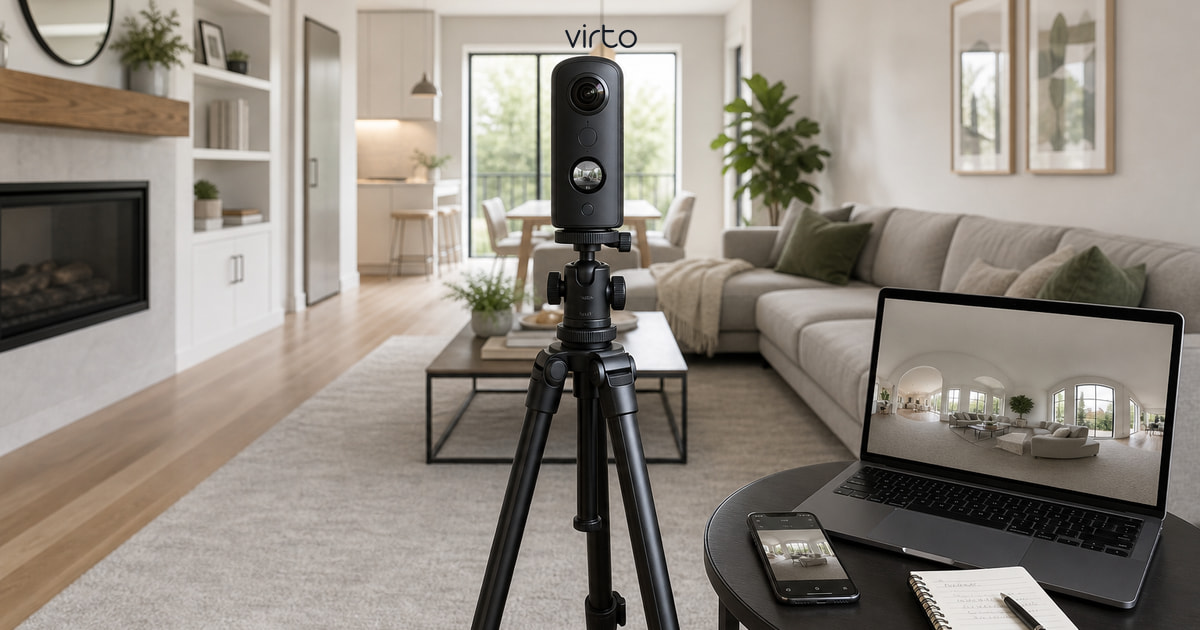
How to Shoot 360° Photos for Real Estate Virtual Tours
Room order, tripod height, and the small habits that separate a walkthrough buyers trust from one they close in ten seconds.
The camera manual tells you how to press the button. It does not tell you which button to press in the laundry room so buyers understand where the second exit is. That gap is what this guide fills — not gear reviews (we have a separate camera comparison), but the on-site rhythm that makes uploads painless later.
Most agent teams we talk to use a Ricoh Theta or Insta360 on a lightweight tripod. Both export standard equirectangular JPGs Virto 360 accepts without conversion. If you already picked a camera, great. If not, read the camera guide after this — shooting habits matter more than the logo on the body.
Before you leave the office — write the shot list
Walk the floor plan on paper first. Follow the path a buyer would take from the front door, not the path that minimizes your steps. Each line on the list is one panorama:
- Entry / foyer — first scene buyers see when they open the tour link
- Living / great room — center of the space, not tucked in a corner
- Kitchen — include sightlines to dining and hallway exits
- Each bedroom — from the doorway looking in, then optionally center of room for large suites
- Each bathroom — doorway angle often enough; tight baths need careful placement
- Hallways only if layout is confusing without them
- Backyard, patio, garage — if they sell the listing
A three-bed house is usually eight to twelve panoramas. That is enough. Twenty scenes of the same hallway do not help — they slow upload and make hotspot linking tedious.
Staging and light — boring on purpose
Turn on every light, even daytime. Open blinds evenly — mixed one-open-one-closed reads messy in 360° because viewers see the whole room at once. Hide trash cans, shoes, dish racks, and family photos if the seller agrees. You are not styling for a magazine; you are removing distractions that pull eyes away from square footage.
- Same color temperature beats mixed bulbs — if a room is orange, switch lamps off and use overheads
- Ceiling fans: off during exposure (motion blur on blades)
- Mirrors: you will be in them — stand behind the camera or use timer/remote
- Pets and people out of frame — movement ghosts in HDR brackets
Tripod height and placement
Set the camera at about 1.5 m (roughly 5 ft) in every room. That is average eye height — viewers feel like they are standing there. Mark a leg tape on your tripod once; do not re-guess per room.
Place the tripod near a doorway or the geometric center of the room, whichever shows more exits. In L-shaped living rooms, favor the spot where kitchen and hallway openings are both visible. Buyers navigate by doorways; your hotspots will sit there later.
Capturing the panorama
Use the camera app remote or a two-second timer so you are not in the stitch line. Enable HDR or auto exposure bracketing for bright windows — blown-out white rectangles are the most common complaint we see on raw uploads.
- Ricoh Theta: HDR composite in app, export equirectangular JPG at highest quality
- Insta360: use HDR photo mode, export 2:1 panorama (not tiny planet)
- Wait for the camera to finish writing the file before moving — corrupted frames waste a return trip
- Shoot RAW+JPG only if your workflow uses RAW; Virto uploads JPG/PNG
Between rooms, note the filename or use in-app room labels. IMG_4521 means nothing when you upload twelve files at once.
Room-specific tips that save reshoots
- Bathrooms: tripod just outside if the room is tiny — full-room panos make small baths look smaller
- Stairs: one panorama at top landing and one at bottom if the staircase is a selling point
- Windows with views: HDR is non-negotiable — buyers zoom mentally toward the view
- Garages: lights on, floor swept — clutter reads as lack of storage
- Tenanted units: shoot between move-out and move-in when possible
Export and upload to Virto 360
Transfer JPGs to your laptop or upload from phone if your workflow allows. Files should be 2:1 aspect ratio — typical sizes 5376×2688 or 6000×3000. Drag all scenes into a new Virto tour, rename by room, link hotspots at the doorways you framed during the shoot.
A cable in the kitchen or a blown window? Light AI cleanup in the editor beats driving back for one shot — see our AI editing guide for what works in 360°. After upload, the habits that still make a walkthrough feel cheap are in how to make a 360° virtual tour look professional. Otherwise publish and paste the link using our MLS distribution guide.
Timing on site — realistic
- Condo / small apartment: 25–40 minutes shoot + 10 minutes pack-up
- Single-family 3/2: 45–75 minutes depending on staging and seller chatter
- Luxury estate: half day — multiple outdoor scenes and guest wings add up
- Upload + hotspot link in Virto: 30–45 minutes first time; faster once the shot list is templated
Common shooting mistakes
- Different tripod heights room to room — walkthrough feels like jumping
- Shooting with the seller following you — reflections and movement
- Skipping bathrooms or closets buyers always ask about
- Forgetting the exterior / entry — first scene should match the curb appeal they saw online
- Too many scenes with no navigation logic — quality over quantity
Template for your next listing
Save your shot list as a note template. Same order every time: entry → main living → kitchen → beds → baths → outdoor. Shoot tomorrow's listing with that script, upload tonight, send the link before the sign goes up. Camera questions? The 2026 camera guide compares Ricoh and Insta360 for exactly this workflow. After the shoot, publish on Virto 360. Plan details: free 360 virtual tour software.
Frequently asked questions
How many 360° photos does a typical home need?
Most 3-bedroom listings need 8–12 panoramas: entry, living, kitchen, dining if separate, each bedroom, each bathroom, plus outdoor spaces that matter. Hallways only when layout would confuse without them.
What tripod height is best for real estate 360°?
About 1.5 m (5 ft) — near average eye height. Use the same height in every room so the virtual walkthrough feels continuous.
Can I shoot a virtual tour with my phone?
Some phones support 360° capture via apps, but dedicated 360° cameras (Ricoh Theta, Insta360) produce cleaner equirectangular files with less stitching hassle. For professional listings, a 360° camera on a tripod is the reliable choice.
What file format does Virto 360 need?
Standard equirectangular JPG or PNG at 2:1 aspect ratio. Export at full resolution from your camera app — no special Virto preset required.