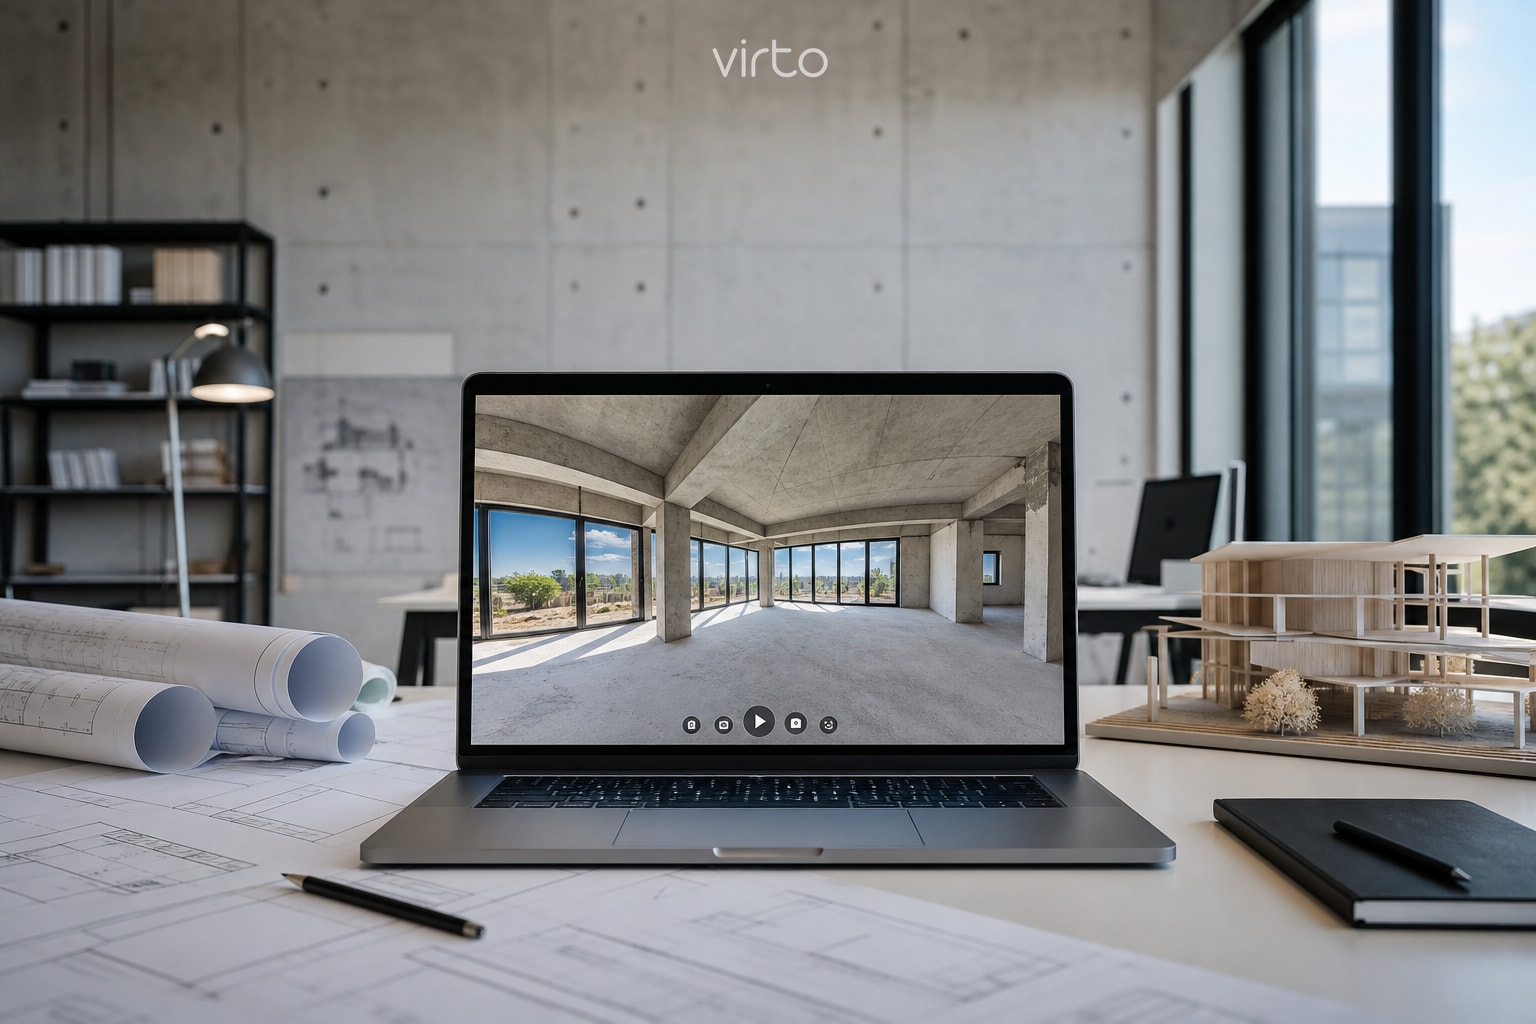
Virtual Tours for Architects: Show Projects Before They're Built
Renderings convince planners; walkthroughs convince clients. How architecture studios use 360° tours for site progress, unbuilt interiors, and competition submissions — exported from the field or the model.
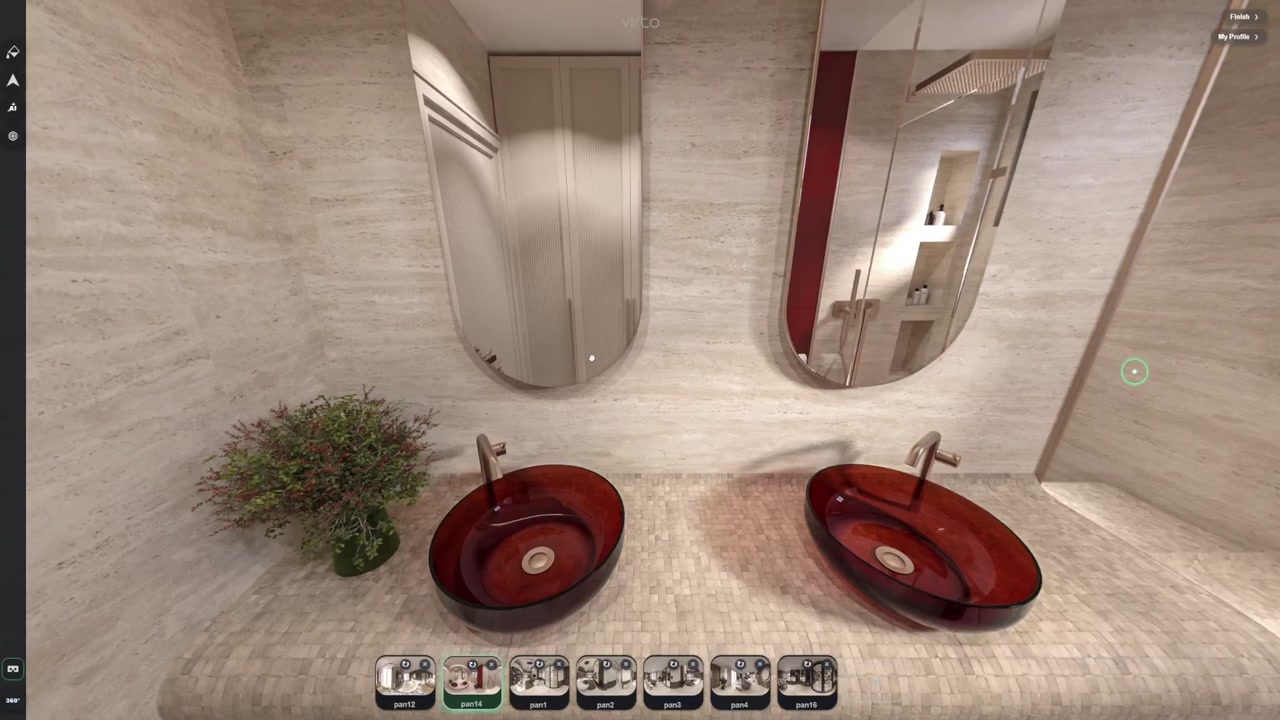
Client meetings still default to flat renders on a projector. The client nods, approves the lobby, then visits the built lobby six months later and says the ceiling feels lower than they imagined. Scale and sequence are hard on a single JPEG. A 360° tour — even of an unbuilt space — lets them look up, turn around, and understand volume before concrete is poured.
Studios we talk to are not replacing BIM or static hero renders. They add a Virto link to the board pack: same meeting, same iPad, but the partner can walk from entry to atrium without you clicking fifty slides. Field teams use the same tool for monthly site documentation — identical hotspot logic, different source files.
Two sources of panoramas (and when to use each)
Design-phase work usually comes from renders; construction-phase work comes from the site. Both upload identically — equirectangular JPG at 2:1 — so you can mix them in one tour or split by project phase.
Rendered equirectangular from your viz stack
Enscape, Twinmotion, V-Ray, Lumion, and Blender can output 2:1 equirectangular stills at eye height (~1.6 m). Export one panorama per critical viewpoint: entrance, main circulation, representative unit type, roof terrace. Match white balance and lighting scenario across exports so hopping between scenes does not feel like two different projects.
- Design phases: Option A vs Option B as separate scene groups or separate tours
- Competitions: one tour per submitted scheme — jury opens link, no USB stick
- Interior fit-out: material variants as duplicate scenes with clear labels
- Keep file names aligned with drawing sets (A-101 Lobby → lobby-scheme-02.jpg)
On-site 360° during construction
A Ricoh Theta or Insta360 on a tripod at the same grid points each month gives owners an honest progress record — rebar, MEP rough-in, finishes. Architects use these tours in contractor meetings when disputing sight lines or ceiling bulkheads. Upload new panoramas beside old ones (new tour version or new scenes) so timeline comparisons stay obvious.
Dusty sites mean lens smudges and workers in frame — acceptable for internal docs; run light AI cleanup for client-facing links if someone walked through mid-bracket.
Hotspots that follow building logic
Do not teleport from basement to penthouse unless you label it “jump to Level 12”. Clients trust tours that mirror how they will move: street → lobby → lift lobby → typical floor corridor → unit entry → living. Info hotspots can hold spec text, finish schedule PDF links, or a still render of the facade — keep text short; they are on a phone half the time.
- Return paths on every scene — board members get lost otherwise
- Opening view = money shot (atrium, view axis, feature stair)
- VR mode for immersive reviews on Quest — useful for height perception in double-height spaces
Presenting in the client meeting
Send the Virto share link in the calendar invite the day before. In the room, AirPlay the iPad or open the link on the conference room tablet. Gyro off, presenter drives with finger — less nausea for the audience. For remote stakeholders, same link in Teams chat; they explore on their own screen while you narrate on mute.
Private tours stay off public search until you publish — useful when competition entries leak easily. Flip to public when the project completes and you embed the tour on your portfolio next to photography.
Portfolio and competition embeds
Your case study page should not be a 12 MB PDF download. Full-width iframe embed (100% width, 500–600 px height) keeps jurors on your site. Light theme if your portfolio is white; dark if your studio site is charcoal. Hide the Virto logo on embed when you want a cleaner frame — details in our embed guide.
Why panorama tours fit design-phase work
Laser-scanned as-built documentation is a different job. Most concept and DD phases never had walls to scan. Render exports and monthly site 360° shots upload to Virto the same way — you keep JPG files, host embeds on your domain, and stay free of proprietary capture hardware for design-phase work.
Gear and export checklist
- Minimum 6000×3000 equirectangular for facade-adjacent interiors on large displays
- 2:1 aspect ratio — verify before a client presentation, not after
- Site camera: see our 360 camera comparison for Ricoh vs Insta360 trade-offs
- Revit/Enscape: one-click panorama export at locked exposure — avoid auto-exposure swings between rooms
First project this week
Pick one room from your current viz model, export a single equirectangular, upload to virto360.com, add two hotspots to adjacent spaces, and send the link to an internal colleague. If they understand circulation without a legend, your clients will. Then expand scene count and embed on the portfolio when the project goes public.
Where to go next
Start at virtual tour software for architects.
Frequently asked questions
Can we upload panoramas straight from Enscape or Twinmotion?
Yes. Export equirectangular JPG or PNG at 2:1 ratio and drag into Virto 360 — same workflow as site photos. No re-stitching on our side.
Will clients need to install software?
No. The share link runs in a browser on iPad, Windows, or Mac. Optional VR mode is available in the browser on supported headsets.
How do we show two design options?
Either two separate published tours (Option A / Option B links) or one tour with clearly named scene pairs. Separate links reduce confusion in client emails.
Is a construction progress tour useful after handover?
Keep it unlisted or archive the link — many studios reuse the workflow on the next job. Completed projects usually get a fresh tour from professional photography or final site scan.