How to Add Hotspots in Virto 360
Navigation, info panels, links, and media on your 360° scenes
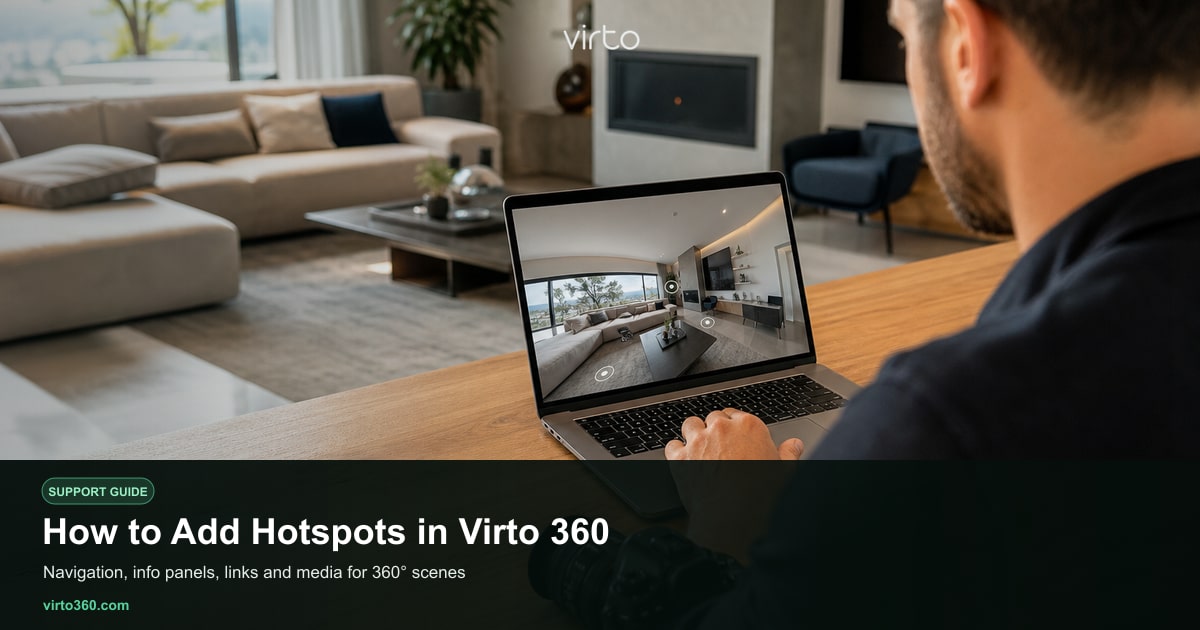
Hotspots are the clickable points that turn a stack of panoramas into a walkthrough. In Virto 360 you add them in the browser editor at /filters — no coding, no timeline, just click where you want interaction and choose a hotspot type. Navigation hotspots move viewers to another scene; text hotspots show titles and descriptions; link hotspots open websites or files in a new tab; media hotspots play video or audio. Used well, hotspots guide orientation room-to-room and keep viewers inside the tour instead of hunting for the next space.
Open the hotspot tool
Load your tour in /filters and select the panorama where you want a hotspot — usually a doorway, hallway, or obvious sight line to the next space. In the toolbar, click Add hotspot (or the hotspot icon). Your cursor becomes a placement crosshair. Click on the sphere exactly where a viewer would naturally look to go forward — eye level in the direction of the next room, not on the floor or ceiling. A panel opens on the side where you pick the hotspot type and fill in details.
Hotspot types and when to use them
- Go to scene — jumps to another panorama in your tour. Use for every door, arch, and staircase that connects rooms.
- Show text — displays a title and description panel. Ideal for appliance notes, room dimensions, or historical facts.
- Play video / Play audio — plays media attached to the hotspot.
- Open link — sends the viewer to an external URL such as a booking page, MLS listing, or PDF floor plan / spec sheet.
Most property tours rely heavily on Go to scene hotspots. A typical three-bedroom home might have eight to fifteen navigation hotspots total — one per logical transition — plus a handful of text hotspots for features the camera cannot explain (new HVAC, renovated kitchen, smart home panel).
Place navigation hotspots correctly
- Stand in the editor at the scene you are leaving and rotate to face the exit.
- Add a Go to scene hotspot on the doorway or opening, not floating in empty space.
- Select the destination panorama from the dropdown — double-check the label matches the room name.
- Switch to the destination scene and add a return hotspot if the path works both ways.
- Preview the tour from /share (draft preview) or use the in-editor view to click through every link.
Misaligned hotspots are the most common beginner mistake: a hotspot placed on a wall instead of a door makes viewers click nothing useful. Zoom the view if you need precision. Hotspots can be dragged after placement — select the hotspot in the list, then adjust its position on the sphere.
Edit, reorder, and delete hotspots
The hotspot list for the active scene appears in the side panel. Click any entry to highlight it in the viewer, edit its label, change the target scene, or switch types. Delete hotspots you no longer need — removing a navigation hotspot does not delete the panorama it pointed to. If you replace a panorama file in the bottom strip, existing hotspots on other scenes stay intact; only hotspots on the replaced scene need checking.
Tips for professional results
- Use short, consistent labels: Kitchen, not "Go to the kitchen area".
- Start the tour on the best first impression scene — often entry or facade — and hotspot from there.
- Avoid cluttering small rooms with more than two or three icons; viewers should see where to go next at a glance.
- For multi-floor properties, add a text hotspot on the stairs noting Floor 2 so orientation stays clear.
When every room connects logically, read connect-panoramas for tour flow patterns and publish-tour to push the finished walkthrough live. Virto 360 is completely free, so you can iterate on hotspot placement as many times as you need before sharing.