Getting Started with Virto 360
Create your first free virtual tour in the browser
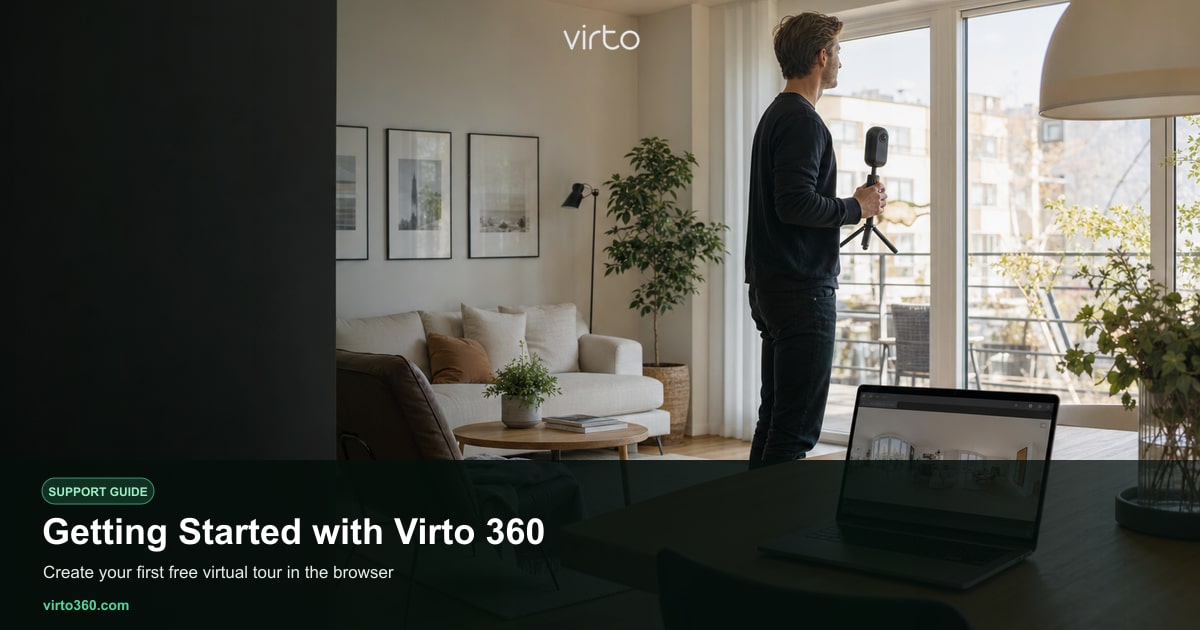
Virto 360 is a completely free virtual tour platform that runs entirely in your web browser. You do not need desktop software, plugins, or a paid plan to create, publish, embed, or share interactive 360° walkthroughs. Whether you shoot real estate listings, hotel rooms, museum galleries, or construction sites, the same workflow applies: upload your panoramas, connect rooms with hotspots, polish the look, and publish a link your clients can open on any device.
Create your free account
Visit virto360.com and click Get started free or Register. You can sign up with email or use Google login. There is no credit card step and no trial that expires — Virto 360 stays free for creating tours, using AI cleanup tools, adding hotspots, generating embed codes, QR codes, and VR mode. Once logged in, your dashboard shows your existing tours and a clear path to start a new one. For the no-watermark / no-card checklist see /free-360-virtual-tour-software.
Upload your first panoramas
Go to /upload to begin. Drag and drop equirectangular 360° photos (the standard 2:1 panoramic format from Ricoh Theta, Insta360, or any 360 camera). Virto accepts JPG and PNG files and optimizes them for smooth viewing on phones, laptops, and VR headsets. Name each scene something useful — Entry, Living room, Kitchen — because those labels appear in the editor strip and help you place hotspots later. You can upload a single room to test the platform or batch-upload an entire property in one session.
- Open /upload from the main menu or your dashboard.
- Drag panorama files onto the upload area or click to browse.
- Wait for each file to finish processing — a thumbnail appears in your tour strip.
- Click Open editor to jump straight to /filters when uploads complete.
Open the editor at /filters
The editor at /filters is where you spend most of your time building the tour. The main viewer shows the active panorama. A strip along the bottom lists every scene in order — drag to reorder, click to switch scenes, or use replace to swap a bad shot without losing hotspots on other rooms. From here you add navigation hotspots, apply brightness and color filters, run AI object removal on clutter, and preview exactly what viewers will see. Changes save automatically as you work.
Connect rooms and publish
Before sharing, link your panoramas so viewers can walk from room to room. Add Go to scene hotspots that point to the correct destination — see our guide on connect-panoramas and add-hotspots for detail. When the tour feels right, open /share to publish. Publishing generates a public link you can copy, embed on a website, or turn into a QR code. The same published tour works in desktop browsers and VR mode without any extra setup on your side.
- /upload — add and manage panorama files
- /filters — edit scenes, hotspots, filters, and AI tools
- /share — publish, copy link, embed code, and QR code
Your first tour might take twenty minutes end to end; after that, most listing tours take under an hour including upload and hotspot placement. If you shoot with a Ricoh Theta or Insta360, read our camera-specific upload guides for export settings that look best in Virto. When you are ready to go live, the publish-tour article walks through sharing options step by step.