AI Enhance for 360° Photos
Enhance 360° photos inside your virtual tour editor — lift exposure, clarity and color, then publish. Separate from manual filters.
Quick answer: Enhance 360° photos inside your virtual tour editor — lift exposure, clarity and color, then publish. Separate from manual filters.
Enhance is a one-click quality pass on a 360° panorama: less muddy rooms, clearer texture, a more even tone. It is not object removal and it is not a prompt. If the result looks plastic, undo and use manual filters — or shoot with better light next time.
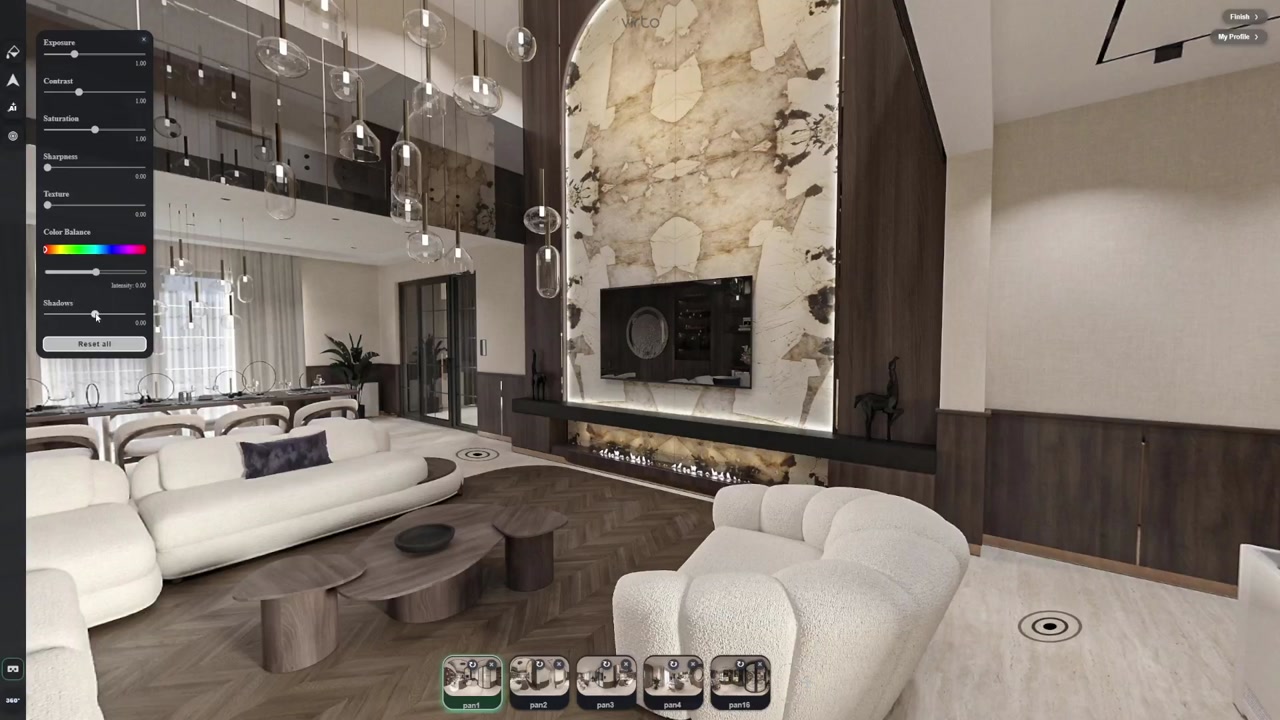
Enhance vs filters
Enhance is an AI quality pipeline — denoise, clarity, texture, a global tone lift. Filters are the sliders you already know: brightness, contrast, saturation.
Use Enhance when the whole frame is muddy. Use filters when you want to steer one value yourself. Both live in the same editor as AI virtual tour software.
Polish a 360° panorama
Enhance for one-click quality; filters when you want to steer brightness and color yourself.
How to enhance a 360° photo
- Clean structure first — Hotspots and room order before polish. Enhance last.
- Run Enhance lightly — One pass. Look around the panorama, especially near windows and wood grain.
- Undo if it looks plastic — If surfaces smear, revert and try filters instead.
- Publish — The same share link updates for guests — no re-export.
Related guides
Object removal, fill and enhance together: AI virtual tours: remove objects, fix skies & enhance.
Manual filter walkthrough: Filter editing for 360 photos.
FAQ
What does AI enhance do on a 360° photo?
It lifts exposure, clarity and texture across the panorama. It does not remove objects or invent furniture.
Is Enhance the same as filters?
No. Filters are manual sliders. Enhance is a one-click AI quality pass. You can use either, or both.
Should I enhance before or after object removal?
Remove and fill first, Enhance last — so you are not polishing pixels you are about to replace.